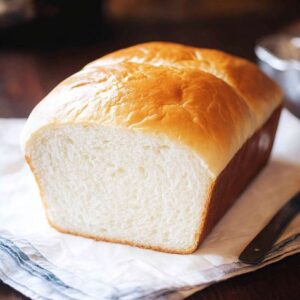
Picture this: the scent of freshly baked bread filling your kitchen, soft and inviting. You pull a loaf out of the oven, its golden crust gleaming under the light. This isn’t just any bread—it’s Amish white bread. Its tender crumb and delicate flavor have a way of transporting you to simpler times. Whether you grew up savoring it at family gatherings or are discovering its magic for the first time, this classic recipe holds a special place in many hearts. Today, we’re diving deep into everything you need to know about Amish white bread, from its origins to how you can bake it yourself.

What Makes Amish White Bread So Special?
The Simplicity Behind Its Perfection
At its core, Amish white bread is defined by its simplicity. The ingredients list is short—flour, yeast, sugar, salt, milk, and butter—but don’t let that fool you. These humble components come together to create something truly extraordinary. The Amish value quality over complexity, and their approach to baking reflects this philosophy. There’s no need for fancy additives or artificial enhancers here; instead, the focus is on using fresh, wholesome ingredients to achieve perfection.
One reason this bread stands out is its texture. Unlike mass-produced loaves, which often rely on preservatives and stabilizers, Amish white bread has a pillowy softness that feels almost luxurious. Each slice melts in your mouth, leaving behind a subtle sweetness that pairs beautifully with both sweet and savory toppings.
Nutritional Value and Health Benefits
Let’s talk about what’s inside this loaf. While it may not be considered “health food” in the strictest sense, Amish white bread does offer some nutritional benefits. For starters, it’s made with enriched flour, which provides essential vitamins and minerals like iron and B-complex vitamins. Pair that with the calcium and protein found in whole milk, and you’ve got a bread that nourishes as well as satisfies.
If you’re looking to make it even healthier, consider swapping refined flour for whole wheat or adding seeds like flax or chia. These small tweaks can boost fiber content and provide additional nutrients without sacrificing taste. Plus, studies suggest that fermented foods like bread made with active yeast can support gut health—a win-win for your body and your palate.
The History of Amish White Bread
Origins in Amish Culture
To understand Amish white bread, you need to step back in time and explore the culture it comes from. The Amish are known for their self-sufficiency and commitment to tradition, and bread-making plays a central role in their daily lives. In these close-knit communities, baking isn’t just a chore—it’s an art form passed down through generations.
Amish families take pride in crafting meals from scratch, and bread is no exception. Recipes are often handwritten in worn notebooks, shared among neighbors, and adapted slightly over time. Despite these variations, one thing remains constant: the emphasis on simplicity and quality.
How It Became Popular Beyond the Community
While Amish white bread started as a staple within tight-knit rural communities, its popularity soon spread far beyond. As tourists visited Amish markets and farm stands, they brought home loaves of this heavenly bread, eager to recreate the experience themselves. Cookbooks began featuring Amish-inspired recipes, introducing the world to the joys of homemade bread.
Today, Amish white bread has earned a loyal following among home bakers and food enthusiasts alike. Its appeal lies in its accessibility—you don’t need advanced skills or expensive equipment to make it. All you need is patience, a few basic ingredients, and a willingness to embrace the process.
Step-by-Step Guide to Making Amish White Bread
Ingredients You’ll Need
Before you start baking, gather the following ingredients:
Instructions for Baking
Now that you have your ingredients ready, let’s walk through the steps:
- Activate the Yeast:
In a small bowl, combine warm water (about 110°F), sugar, and yeast. Stir gently and let it sit for 5–10 minutes until frothy. If it doesn’t foam, your yeast might be expired—start over with fresh yeast. - Mix the Dough:
In a large mixing bowl, add the activated yeast mixture, milk, melted butter, and salt. Gradually stir in the flour, one cup at a time, until a shaggy dough forms. - Knead the Dough:
Turn the dough onto a floured surface and knead for 8–10 minutes until smooth and elastic. Alternatively, use a stand mixer fitted with a dough hook. - First Rise:
Place the dough in a lightly greased bowl, cover it with a damp towel, and let it rise in a warm spot for about 1–2 hours, or until doubled in size. - Shape the Loaves:
Punch down the risen dough and divide it into two equal portions. Shape each portion into a loaf and place them in greased 9×5-inch loaf pans. - Second Rise:
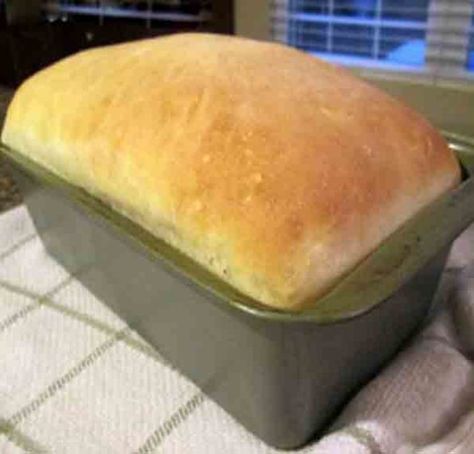
Cover the shaped loaves and allow them to rise again for 30–45 minutes, or until they reach just above the rim of the pans. - Bake:
Preheat your oven to 350°F. Bake the loaves for 30–35 minutes, or until golden brown and hollow-sounding when tapped on the bottom. Let cool completely before slicing.

