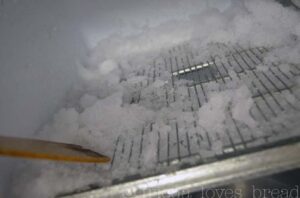
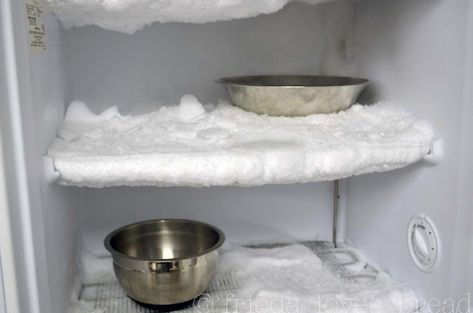
Imagine this: You’re rushing out the door, grabbing last-minute essentials for work or school, and suddenly you realize—you can’t get to anything in your freezer. A thick layer of frost has taken over, sealing your frozen meals, ice cream, and smoothie ingredients behind an impenetrable wall of ice. Frustrating, isn’t it? Now you’re stuck deciding whether to chip away at the ice with whatever tools you have handy or reschedule your entire day just to fix the mess.
But what if there was a way to solve this problem in five minutes flat? No more wasted mornings, no more ruined plans. With the right approach, defrosting your freezer doesn’t need to be a chore—it can actually feel empowering. In this guide, we’ll show you exactly how to reclaim control of your kitchen and keep your freezer running smoothly without breaking a sweat.

Why Defrosting Your Freezer Matters (And Why You Can’t Ignore It)
The Hidden Costs of Ignoring Freezer Maintenance
Let’s talk about why neglecting your freezer is costing you more than just time. When frost builds up inside, it forces the compressor to work harder to maintain the desired temperature. This extra strain consumes more electricity, leading to higher utility bills. According to ENERGY STAR, households could save up to 20% on energy costs simply by maintaining their appliances properly.
Beyond the financial hit, ignoring frost buildup can also shorten the lifespan of your freezer. Over time, excessive ice can damage seals, gaskets, and even internal components, resulting in costly repairs—or worse, replacement. By taking care of the issue early, you protect both your wallet and your appliance.
Health Risks from Overlooked Frost Buildup
Here’s something else to consider: that icy fortress might not be as harmless as it seems. Moisture trapped within the frost creates an ideal environment for mold and bacteria to thrive. These microorganisms can contaminate your food and pose health risks when ingested. Regularly defrosting and cleaning your freezer ensures a safer storage space for all your groceries.
The Ultimate Guide to Defrosting Your Freezer in Just 5 Minutes
Now comes the part you’ve been waiting for—the step-by-step process that will revolutionize how you tackle freezer maintenance. Follow these instructions carefully, and you’ll have a pristine, frost-free appliance in no time.
Step-by-Step Instructions
- Empty Your Freezer
The first step is simple yet crucial: remove everything stored inside. Grab reusable shopping bags or coolers to temporarily hold perishable items while you work. Don’t forget to pack some ice packs to keep things cold during the process. - Unplug the Freezer
Safety always comes first. Before doing anything else, unplug the unit to avoid electrical hazards. If your freezer is part of a fridge-freezer combo, switch off the power supply entirely. - Apply Heat Strategically
- Place bowls filled with hot water inside the freezer compartment. The steam generated will help loosen the ice quickly.
- For stubborn patches of frost, use a hairdryer set to medium heat. Hold it a few inches away from the surface and move it steadily across the affected areas.
- Scrape and Wipe
Once the ice starts melting, gently scrape it off using a plastic scraper. Avoid metal tools, as they can scratch the interior walls. Use towels or microfiber cloths to wipe down surfaces and soak up melted water. - Dry Thoroughly Before Restocking
After removing all the ice, ensure the interior is completely dry before plugging the freezer back in. This prevents new frost from forming prematurely.
Tools You’ll Need
To make the job easier, gather these essentials beforehand:
- Hairdryer
- Bowls of hot water
- Plastic scraper
- Towels or microfiber cloths
Optional accessories include ice packs for temporary storage and reusable containers to organize your food once you’re done.

