
The Ultimate Guide to Creating a Delectable Strawberry Delight
Opening Paragraph : A Slice of Nostalgia
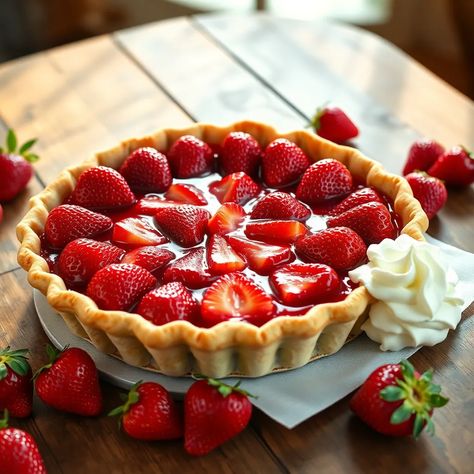
Imagine sitting on a sun-drenched porch, the warm breeze carrying the scent of freshly baked goods. In your hand is a plate with a slice of something extraordinary—a strawberry delight that takes you back to cherished moments. This isn’t just any dessert; it’s an experience, a memory wrapped in layers of buttery crust and sweet, tangy fruit. Whether you’re reminiscing about family gatherings or dreaming up new traditions, crafting your own strawberry masterpiece can bring joy to both you and those around you. Let’s dive into everything you need to know to create a stunning strawberry delight.
Section 1: Why This Dessert Stands Out
Subheading : A Timeless Favorite Across Generations
This particular treat has been a beloved classic for decades. Its charm lies in its simplicity yet profound impact. From backyard barbecues to holiday feasts, it consistently steals the spotlight. Did you know that this dessert ranks among the most searched-for recipes online? It’s no surprise—it combines comfort, nostalgia, and indulgence all in one bite.
Fun Fact:
Historically, strawberries were once reserved for royalty due to their rarity and vibrant appearance. Today, they’re accessible to everyone, making this creation even more special.
Subheading : Bringing People Together
There’s something magical about sharing food that resonates deeply with others. This dish doesn’t just satisfy hunger; it fosters connections. Imagine presenting a perfectly golden pie at your next gathering. Watching loved ones savor each bite will remind you why putting effort into baking is so rewarding.
Section 2: Essential Components for Your Masterpiece
To achieve greatness, you must start with quality ingredients. Here’s what you’ll need to build the foundation of your strawberry delight.
Subheading : Building the Base – Crafting the Crust
Your crust serves as the backbone of the entire creation. Without a sturdy base, the rest won’t hold together. Follow these steps to ensure success:
- All-purpose flour : Provides structure and binds the components.
- Cold unsalted butter : Creates flakiness when incorporated correctly.
- Icing sugar : Adds sweetness without overwhelming other flavors.
- Ice water : Helps bind the dough while keeping it cool.
Subheading : Choosing Your Berries
When selecting berries, consider freshness and seasonality. Fresh berries offer superior taste and texture compared to frozen alternatives. However, if fresh options aren’t available, frozen ones work well too. Just remember to thaw them properly before use.
- Fresh berries : Ideal for peak flavor and juiciness.
- Frozen berries : Convenient and cost-effective during off-seasons.
Subheading : Other Key Elements
Don’t forget these crucial additions:
- Cornstarch or tapioca starch : Thickens the filling to prevent it from becoming overly runny.
- Lemon juice : Balances sweetness and enhances the natural tartness of strawberries.
- Sugar : Enhances overall flavor profile.
Section 3: Step-by-Step Instructions for Success
Now comes the exciting part—putting it all together! Follow this detailed guide to ensure every step aligns perfectly.
Subheading : Preparing the Crust
Begin by creating your crust. This process requires precision but yields incredible results.
- Combine dry ingredients in a mixing bowl.
- Cut in cold butter until the mixture resembles coarse crumbs.
- Gradually add ice water, mixing until the dough forms a ball.
- Wrap the dough in plastic and chill for at least half an hour.
Subheading : Assembling the Filling
Next, focus on preparing the filling. This step ensures your berries are evenly coated and ready for assembly.
- Wash and hull your strawberries carefully.
- In a separate container, mix sugar, cornstarch, and lemon juice.
- Gently toss the berries with the mixture until fully coated.
Subheading : Baking the Pie
Finally, it’s time to bake your masterpiece. Adhere to these guidelines for optimal results.
- Preheat your oven to 375°F (190°C).
- Roll out the chilled dough and place it in a nine-inch pie dish.
- Pour the prepared filling into the crust.
- Cover with either a lattice or full top crust.
- Bake for forty-five to fifty minutes, ensuring the crust turns golden brown.